
6 Tips for BibTag equipment maintenance
As the season is starting, preparation is half the work, so it’s essential to check your equipment before you start timing your first race after some time off. To help you out a bit, we give you 6 tips for BibTag system equipment maintenance.
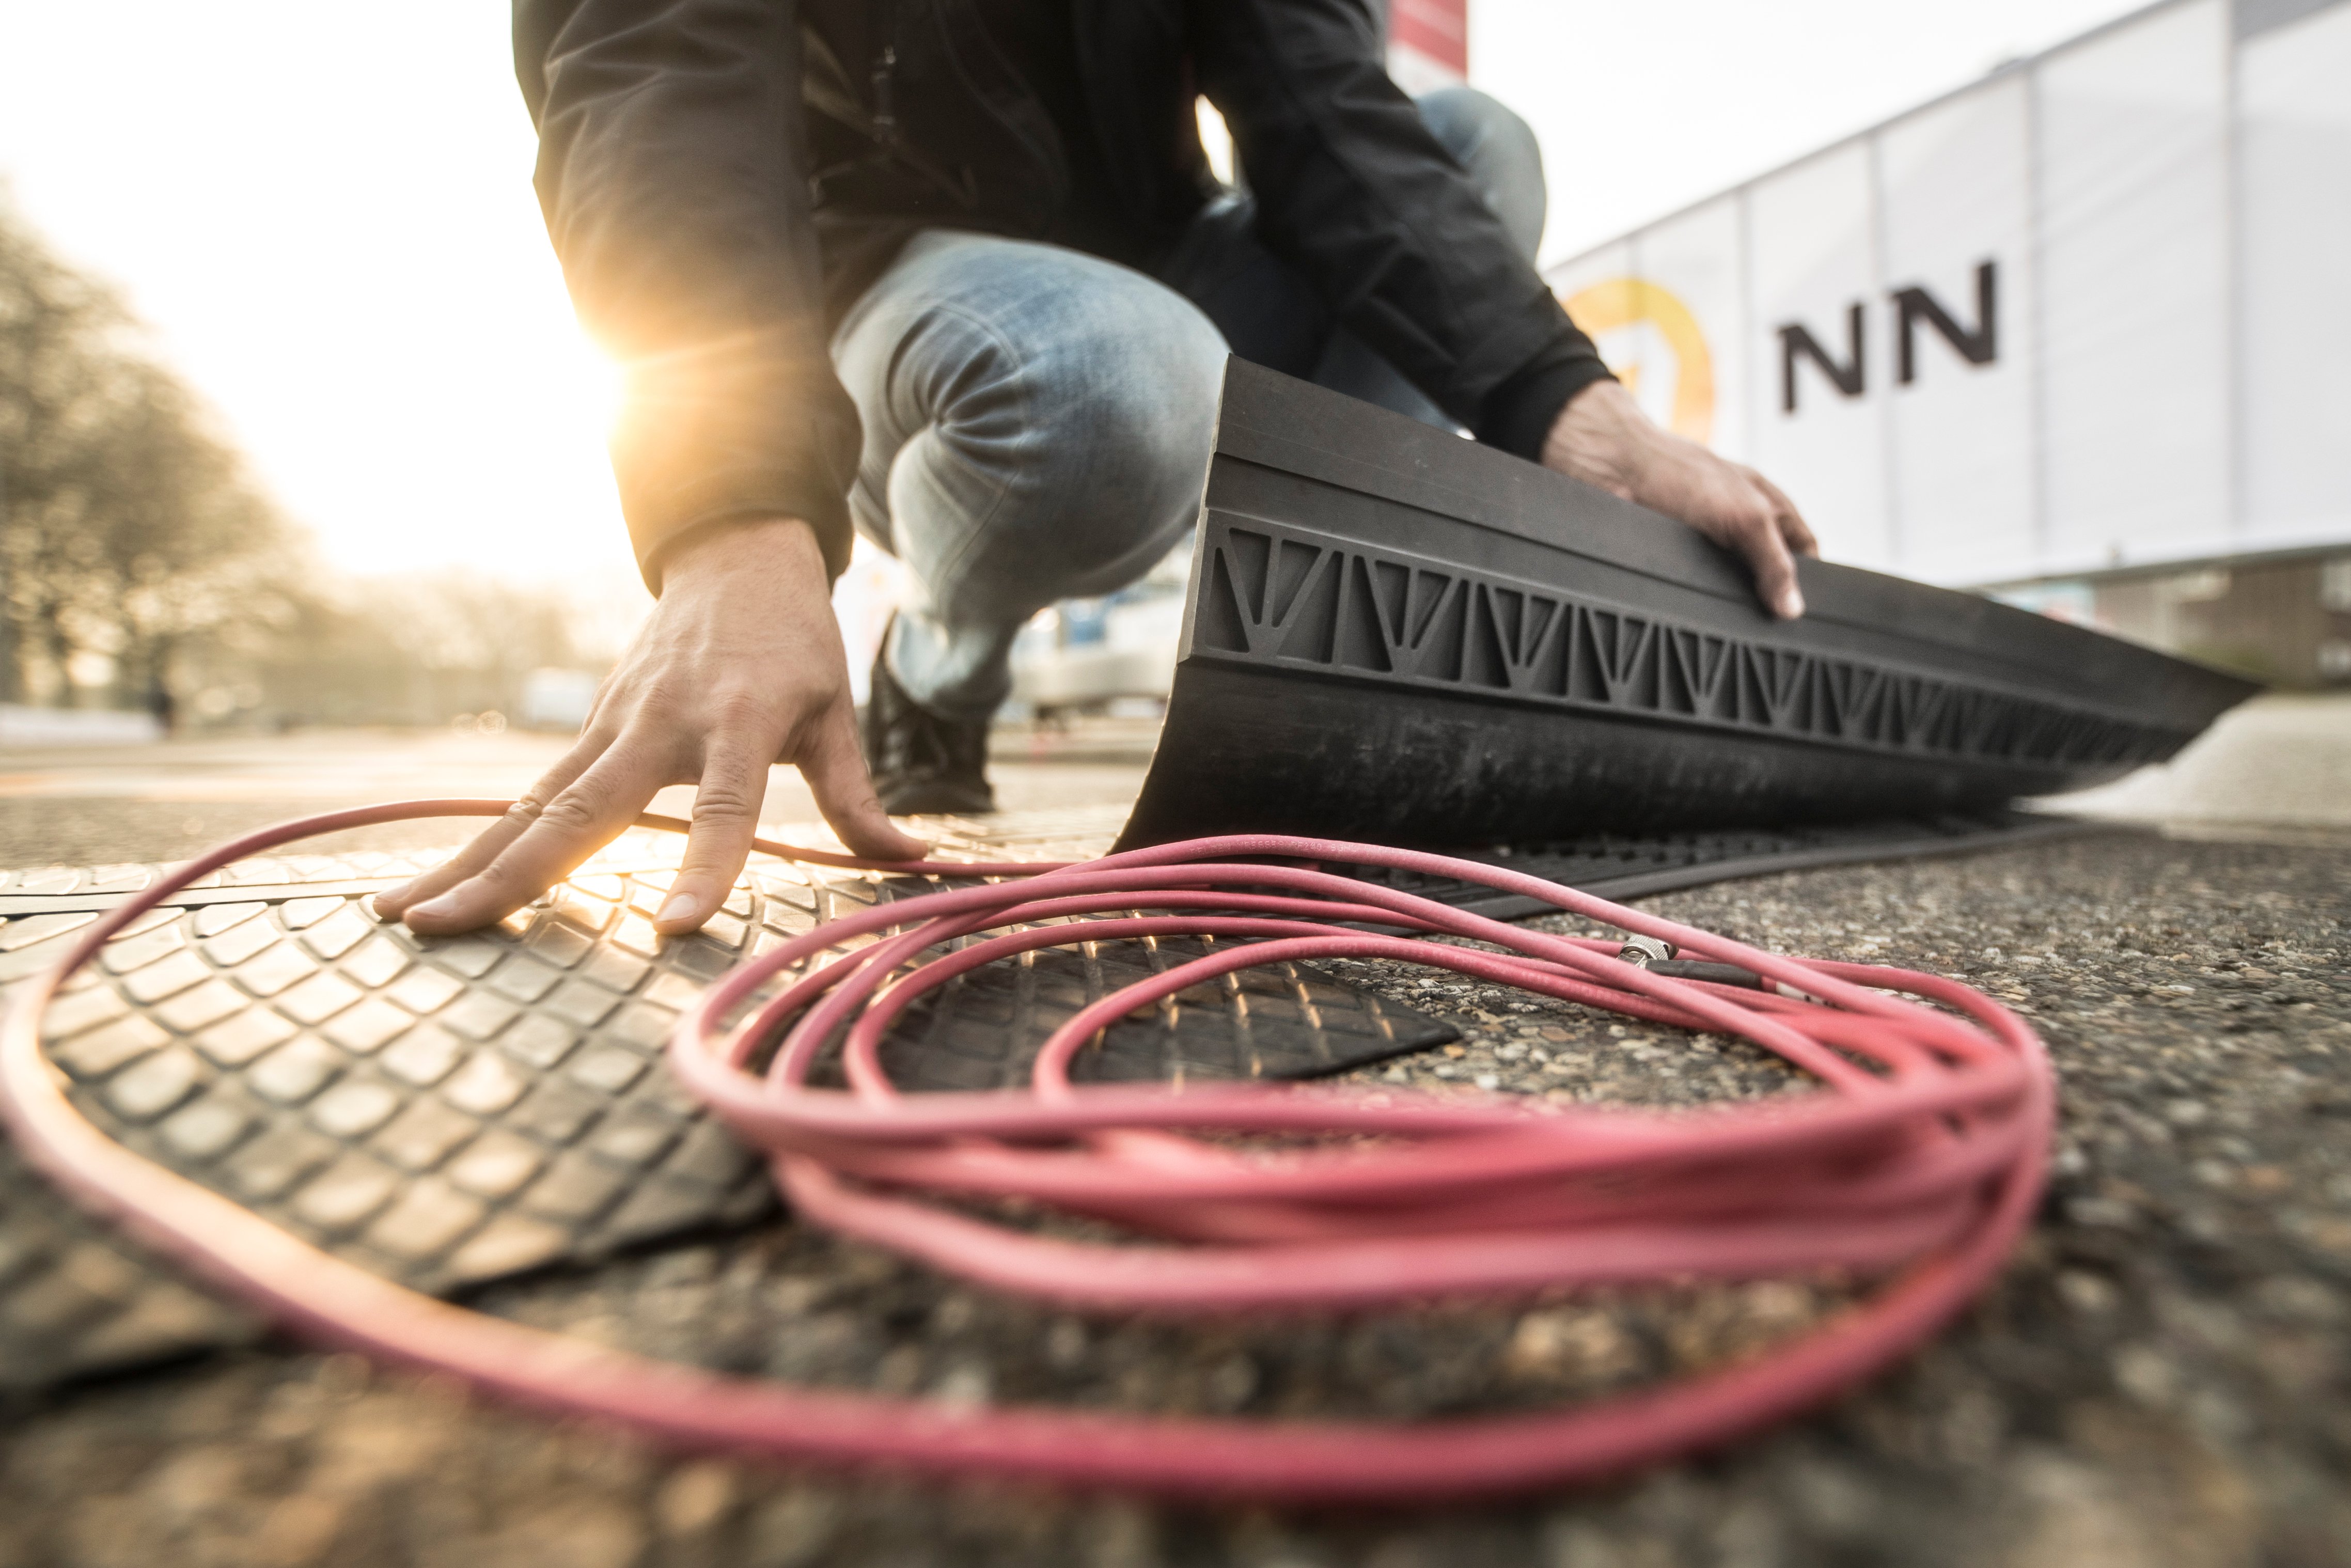
1. Do the COAX cable check
Essential to your equipment are your COAX cables. These are the veins of your system, playing a crucial role in your passings. The last thing you want are broken cables resulting in undetected passings.
Cable breaks can occur through wear of the equipment. Heavy objects on the cable or storing the cables in the wrong way may also result in cable breakage Luckily it’s easy to detect and solve. This process can be applied to both regular cables and angled cables. Keep in mind if you replace an angled cable connector with a regular, the lid of the decoder might not be able to close. Find the step-by-step process of testing your Coax cables & replacing connectors when necessary, below.
Find the step-by-step blog here. Prefer a video guide? Go here.
.png?width=395&height=210&name=My%20project%20(2).png)

2. Keep your batteries healthy
When storing equipment, batteries will (very) slowly go empty. It’s always better for the condition of your batteries to be regularly used. This of course isn’t the case in the low season.
Don’t worry, it doesn’t mean your batteries are going bad when storing your equipment. You can compare this with car batteries. If you don’t use your car for a long time, your battery will drain a little bit. If that happens you can drip-charge it to give it life again. This works the same with your BibTag decoder battery.
Rule of thumb: Charge your battery every 3 months to maintain a healthy battery. Continuously charging (drip charge) is perfectly fine. Is your battery performing a lot less than you’re used to? Contact our support team to see if a replacement is necessary. The average charging cycle of the batteries is 800 times. It’s hard to tell when replacement is necessary but when your batteries are seriously underperforming, contact support.
Below is a table with our storage recommendations:
|
|
|
BibTag Smart Decoder |
|
|
|
Battery type |
Li-ion |
Li-ion |
Li-Po |
Lead acid |
|
Charge temperature range |
32°F to 113°F 0°C to 45°C |
32°F to 104°F 0°C to 40°C |
32°F to 104°F 0°C to 40°C |
32°F to 104°F 0°C to 40°C |
|
Storage temperature range |
-4°F to 104°F -20°C to 40°C |
32°F to 77°F 0°C to 25°C |
-4°F to 104°F -20°C to 40°C |
-4°F to 104°F -20°C to 40°C |
|
Storage method |
40% battery After 6 months, check if battery level and recharge up to 40% if level is lower than 30% |
Store fully charged Charge every 3 months
|
40% battery After 6 months, check if battery level and recharge up to 40% if level is lower than 30% |
Preferred option: Keep on charger all time |
|
How to get the 40% level |
Battery level >40% No power source connected |
N/A |
Check battery level on decoder display |
N/A |


3. Test your Beeper and replace it if necessary
Sometimes the beeper doesn’t work properly after using your decoder for a while. Usually, due to the changing (weather) conditions around your decoder, this issue is usually a small one but not ideal.
Important to keep in mind:
A non-beeping decoder doesn’t indicate a non-detecting decoder, but for athletes crossing your line, it might be confusing. The beeper is a confirmation for many to know their tag is being detected. So, how do you solve this issue?
When this happens during the event, there is a very easy fix. More technically detailed, the beeper works with metal plates. Due to moist weather, and the change in climate conditions, your decoder is in (for example: from your dry van to rainy conditions) the plates will expand and shrink. This is a normal process that you can not do anything about. Basically, this is the main reason why you won’t hear the beep. The easy fix here is to acclimatize your decoder. In other words: when installing your equipment, let the decoder rest for some time before you will use it.
If the beeper really is broken, used, or worn out, find the method to replace it yourself here.
4. Update firmware
Next to your hardware checks, the inside of your decoder shouldn’t be forgotten. Check your decoder for updates regularly, to prevent unsupported firmware versions. For 2 years, the process of downloading, installing, and updating the firmware for all your decoders has been drastically simplified. If you follow this step-by-step guide, updating is done in no time! Keep in mind that when you’re facing troubles, the support team is happy to help you out. The latest updates can be found on portal.mylaps.com
Find the step-by-step guide here.
.png?width=335&height=209&name=My%20project%20(1).png)
5. Test your tag detection
Testing the performance of your detection loops/mats should be done by 2 persons ( If you’re handy you can do it alone but we do not recommend this) Besides testing the performance of your loop, the detection rate test is also a way of tracking down possible loop breaks. There are two methods to execute this test:
-Height test: This method is used to determine the minimum height at which the chip gets detected by the system's antenna. A significant difference in height detection throughout the timeline may indicate an issue.
-Distance test: This method is used to determine the minimum distance a chip gets detected by the system's antenna. A significant difference in the distance throughout the timeline may indicate an issue.
A simple step-by-step guide on how to perform this test correctly can be found here.
-1.png?width=352&height=197&name=My%20project%20(3)-1.png)
6. Store correctly
Are all checks sorted? Now it’s time to talk storage. The best for all equipment is to store it at room temperature in a dry environment. Environments with changing climate conditions (temperature, moist) aren’t ideal.
For mats, the ideal storage method is to lay them flat on the ground. A ply of mats is perfectly fine, but don’t make it too high. This may harm the reader inside the mats and causes an unstable stack. Around a maximum of 10-12 mats is fine. EasyMats should be rolled out when storing for a longer period of time.
.png?width=1024&height=768&name=MicrosoftTeams-image%20(15).png)
That's it! Do you want to learn more about your equipment, or are you looking for other information about our products?
Visit help.mylaps.com for more instructions, guides, and videos.
Check out this page for more articles & information about timing a running race or other mass-active sports.
Specific questions? Contact your account manager or our support team, they are happy to help you.