How to prepare for timing a running race
Race Days are always hectic. Long days with a lot of things happening at the same time. That is why timers want to come prepared. When the pressure is on you want to do your job without too much stress. In this blog we discuss a checklist for before and during Race Day that will help timers to get ready for their big day. In this case we use examples for working with the MYLAPS BibTag System.
1. Prepare your timing setup and information
In order to let everything run smoothly on Race Day, a good preparation is a must. Therefore a checklist with tasks to complete before your event is indispensable. Your checklist should consist of the most essential topics and duration of the task. Including the items below will help you preparing for Race Day.- Order your tags via your account manager. The first thing you should do is ordering your desired number of tags at your account manager. This is necessary to prioritize early because of 3 weeks delivery time.
- Create your script. We recommend to create a script for Race Day, with all details of your event. For example number of athletes, estimated duration of the race per category, contacts, etc. An example can be found here.
- Create an equipment checklist. The mistake with the easiest fix is to not forget anything. Write yourself a packing list with equipment and items that are crucial for the event. Find the example here.
- Make sure your decoders are up to date. Last minute updating might cause you some last minute stress. To avoid this, update your decoders well on time. Find the step by step guide for updating firmware of the BibTag decoder here, and for the ProChip Smart Decoder here.
- Check if you have all the information of your athletes complete. Missing information is not an immediate issue, but can affect results when working with age groups, gender, etc.
- Create files in Timing & Scoring. Create files in the Timing & Scoring software in advance. This is not a must, but will help you to start up faster on Race Day.
- Do the final check. All six previous points sorted? Don't forget to do the final check! Read more about the final check of your systems and administrations here, in this manual.
2. Timer Race Day Checklist
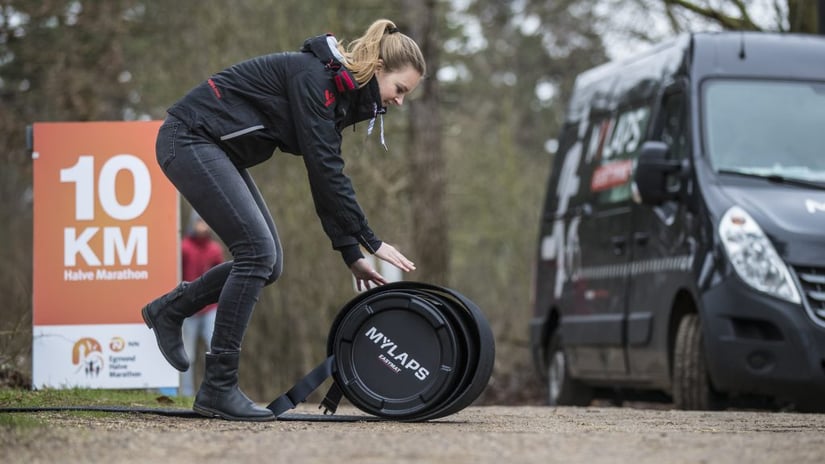
Before preparing the equipment and administration, first have a look at the timing location. It is important to check the following:
- Is the location safe (closed area or traffic etc.)?
- Where can the decoder be put?
- Can the system be shielded from the public?
- The availability of power sources
- The desired location of the timer
- Which side of the road you can use?
- What direction the runners are running?
- Can the area be used for start or finish location?
- Where the mats should be placed relative to the start line
Don't forget the following topics as well:
- Be aware of traffic crossing the mats, very slow driving is recommended
- Heavy traffic is possible but should be avoided as it can damage the mats or the antenna cables inside the mats
- Allow no traffic while setting up the system
- Cars driving over loose antenna cables can crush the connector and cable resulting in less performance
- Mats can slide away in certain conditions, use tape or nails to fixate mats
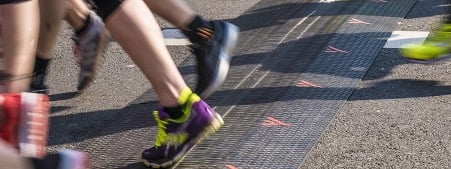
- Connect the mats. Connect the mats of your timeline. Need a refresher of how to do this properly? Read the manual about connecting your timeline setup here.
- Create your main and back up lines. Create your main and backup start/finish line. Follow the steps in the manual on how to setup main and backup timelines here.
- Connect the decoder to the mats. Connect your decoder to the mats by plugging in the cables into the correct slots of the decoder.
- Check the decoder settings. Check the settings of the decoder. If you're using more than one decoder, try to do this simultaneously.
- Secure the Timing location. If the system is set up- do a final check of the timing location. Pay attention to the following; Athletes crossing the line by accident, no equipment or loose cabling left on the road, are the decoders shielded from water or sand, are athletes being forced to cross the line and not miss the timeline, check the battery status and do a overall check of the system every 15-30min.
- Check the internet connection. Pay attention to maintaining a stable internet connection
- Process final update of the Athletes. Before the start, process the final changes regarding the athletes.
- Clear your decoder before the event. Clear the decoder before the event, so no unnecessary space will be taken up by old data.
- Create new file before the start. Right before the atart, create a new file for the starting wave.
- Double check if the correct group of athletes is present at the start. Double check if the starting group corespondents with the schedule.
- Gunshot! When the gunshot sound, press 'gunshot' on your decoder simultaneously.
- Passings in Timing & Scoring should be visible. Now that the race is well underway, passings should be visible in the Timing & Scoring software.
- Create a new file. When all athletes of the first group have started, create a new file on the decoder for the new group Ahtletes.
- Monitor your equipment during the event. Pay extra attention to the batteries/internet internet connection.
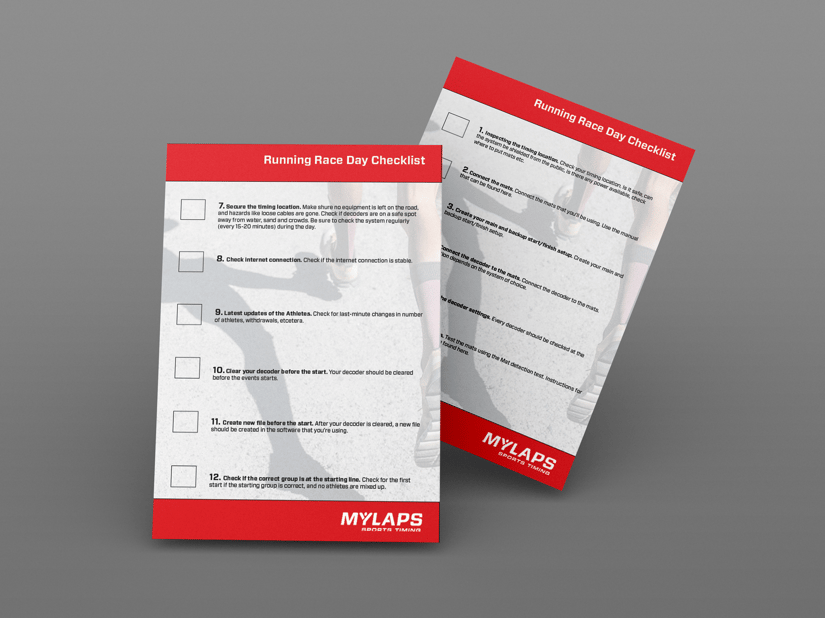
Get the checklist for on the go!
Looking for a paper version of the checklist that fits in your pocket? Download the Race Day Preperations checklist for timers and the Running Race Day checklist for timers here.
That's it! Congratulations, you now know everything you need to know for timing a running race. Do you still have burning questions? Don't hesitate to contact us or have a look at help.mylaps.com