How to time a Trail Run: Top tips and basics you need to know
It’s early in the morning. The sun is shining over the mountaintops, and you’re ready to head out to time your first trail run. You’ve got nothing to worry about. That’s because you’ve started early with your preparation. To time a trail run, or a similar event, preparation is key. Don’t know where to start? Or how to put the preparation into work on Raceday? Don’t worry. We’ve got you covered. In this blog, we’ll share some tips and discuss how to time a trail run - from start to finish.
Trail Run timing essentials
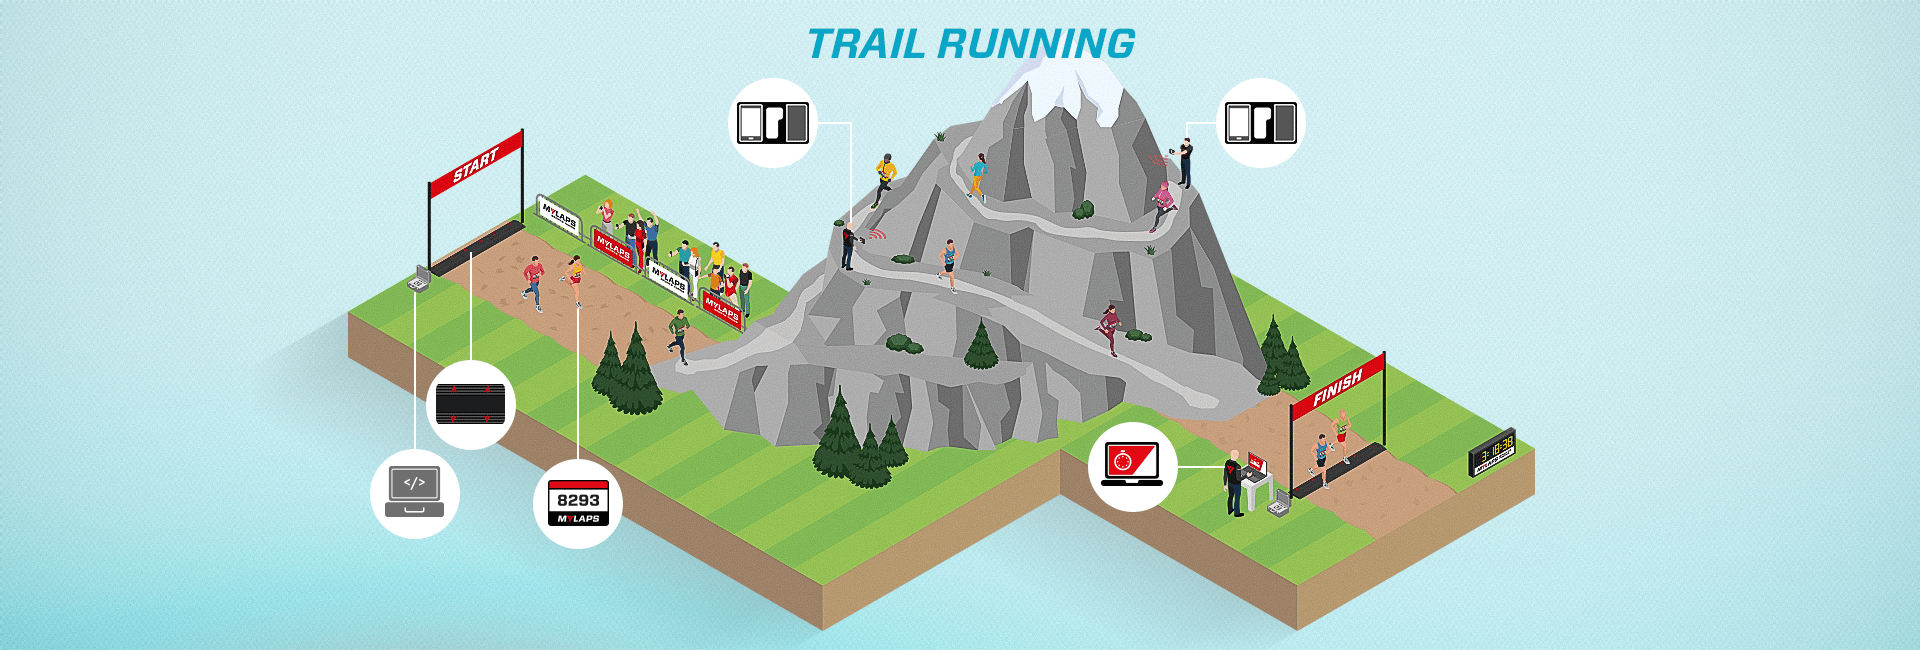
The first question that might pop up is most likely wondering where to even start. What is needed to time an event? When starting off with timing, it is logical to be full of questions on how to approach timing. The core of timing your event is the use of the right equipment. A basic setup is required for trail running. When timing a Trail Run, you will be using tags, a decoder, mats and software. It is also possible to hire a third-party timing company, which we will discuss later. First, let’s talk equipment.
Tags
 Tags are applied to the back of the runners’ bib. The tag is a chip that sends out signals that can be picked up by mats. Tags can be active or passive, depending on your system of choice. Tags come in different shapes and forms, MYLAPS offers the ThinTag.
Mats and Hand readers
To detect the tags, detection mats are used. Detection mats are placed at the start, finish and split timing locations. Because Trail Runs often take place at the most beautiful, but also challenging and remote locations, installing mats isn’t ideal at some parts of the track. To solve this problem. A hand reader works without a decoder and detection mats.
Decoders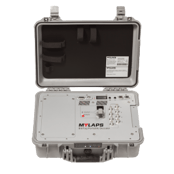
Now that you got your mats, hand readers and tags ready, it’s time to get more technical. When runners pass the start, finish and split points, the mats or readers detect the transponders. This means a lot of data at the same time. To translate this data into usable info, the decoder is used. It decodes the data into the athletes’ IDs and their measured times. Portable decoders have an integrated battery and can measure up to 50 passings, per second.
Software
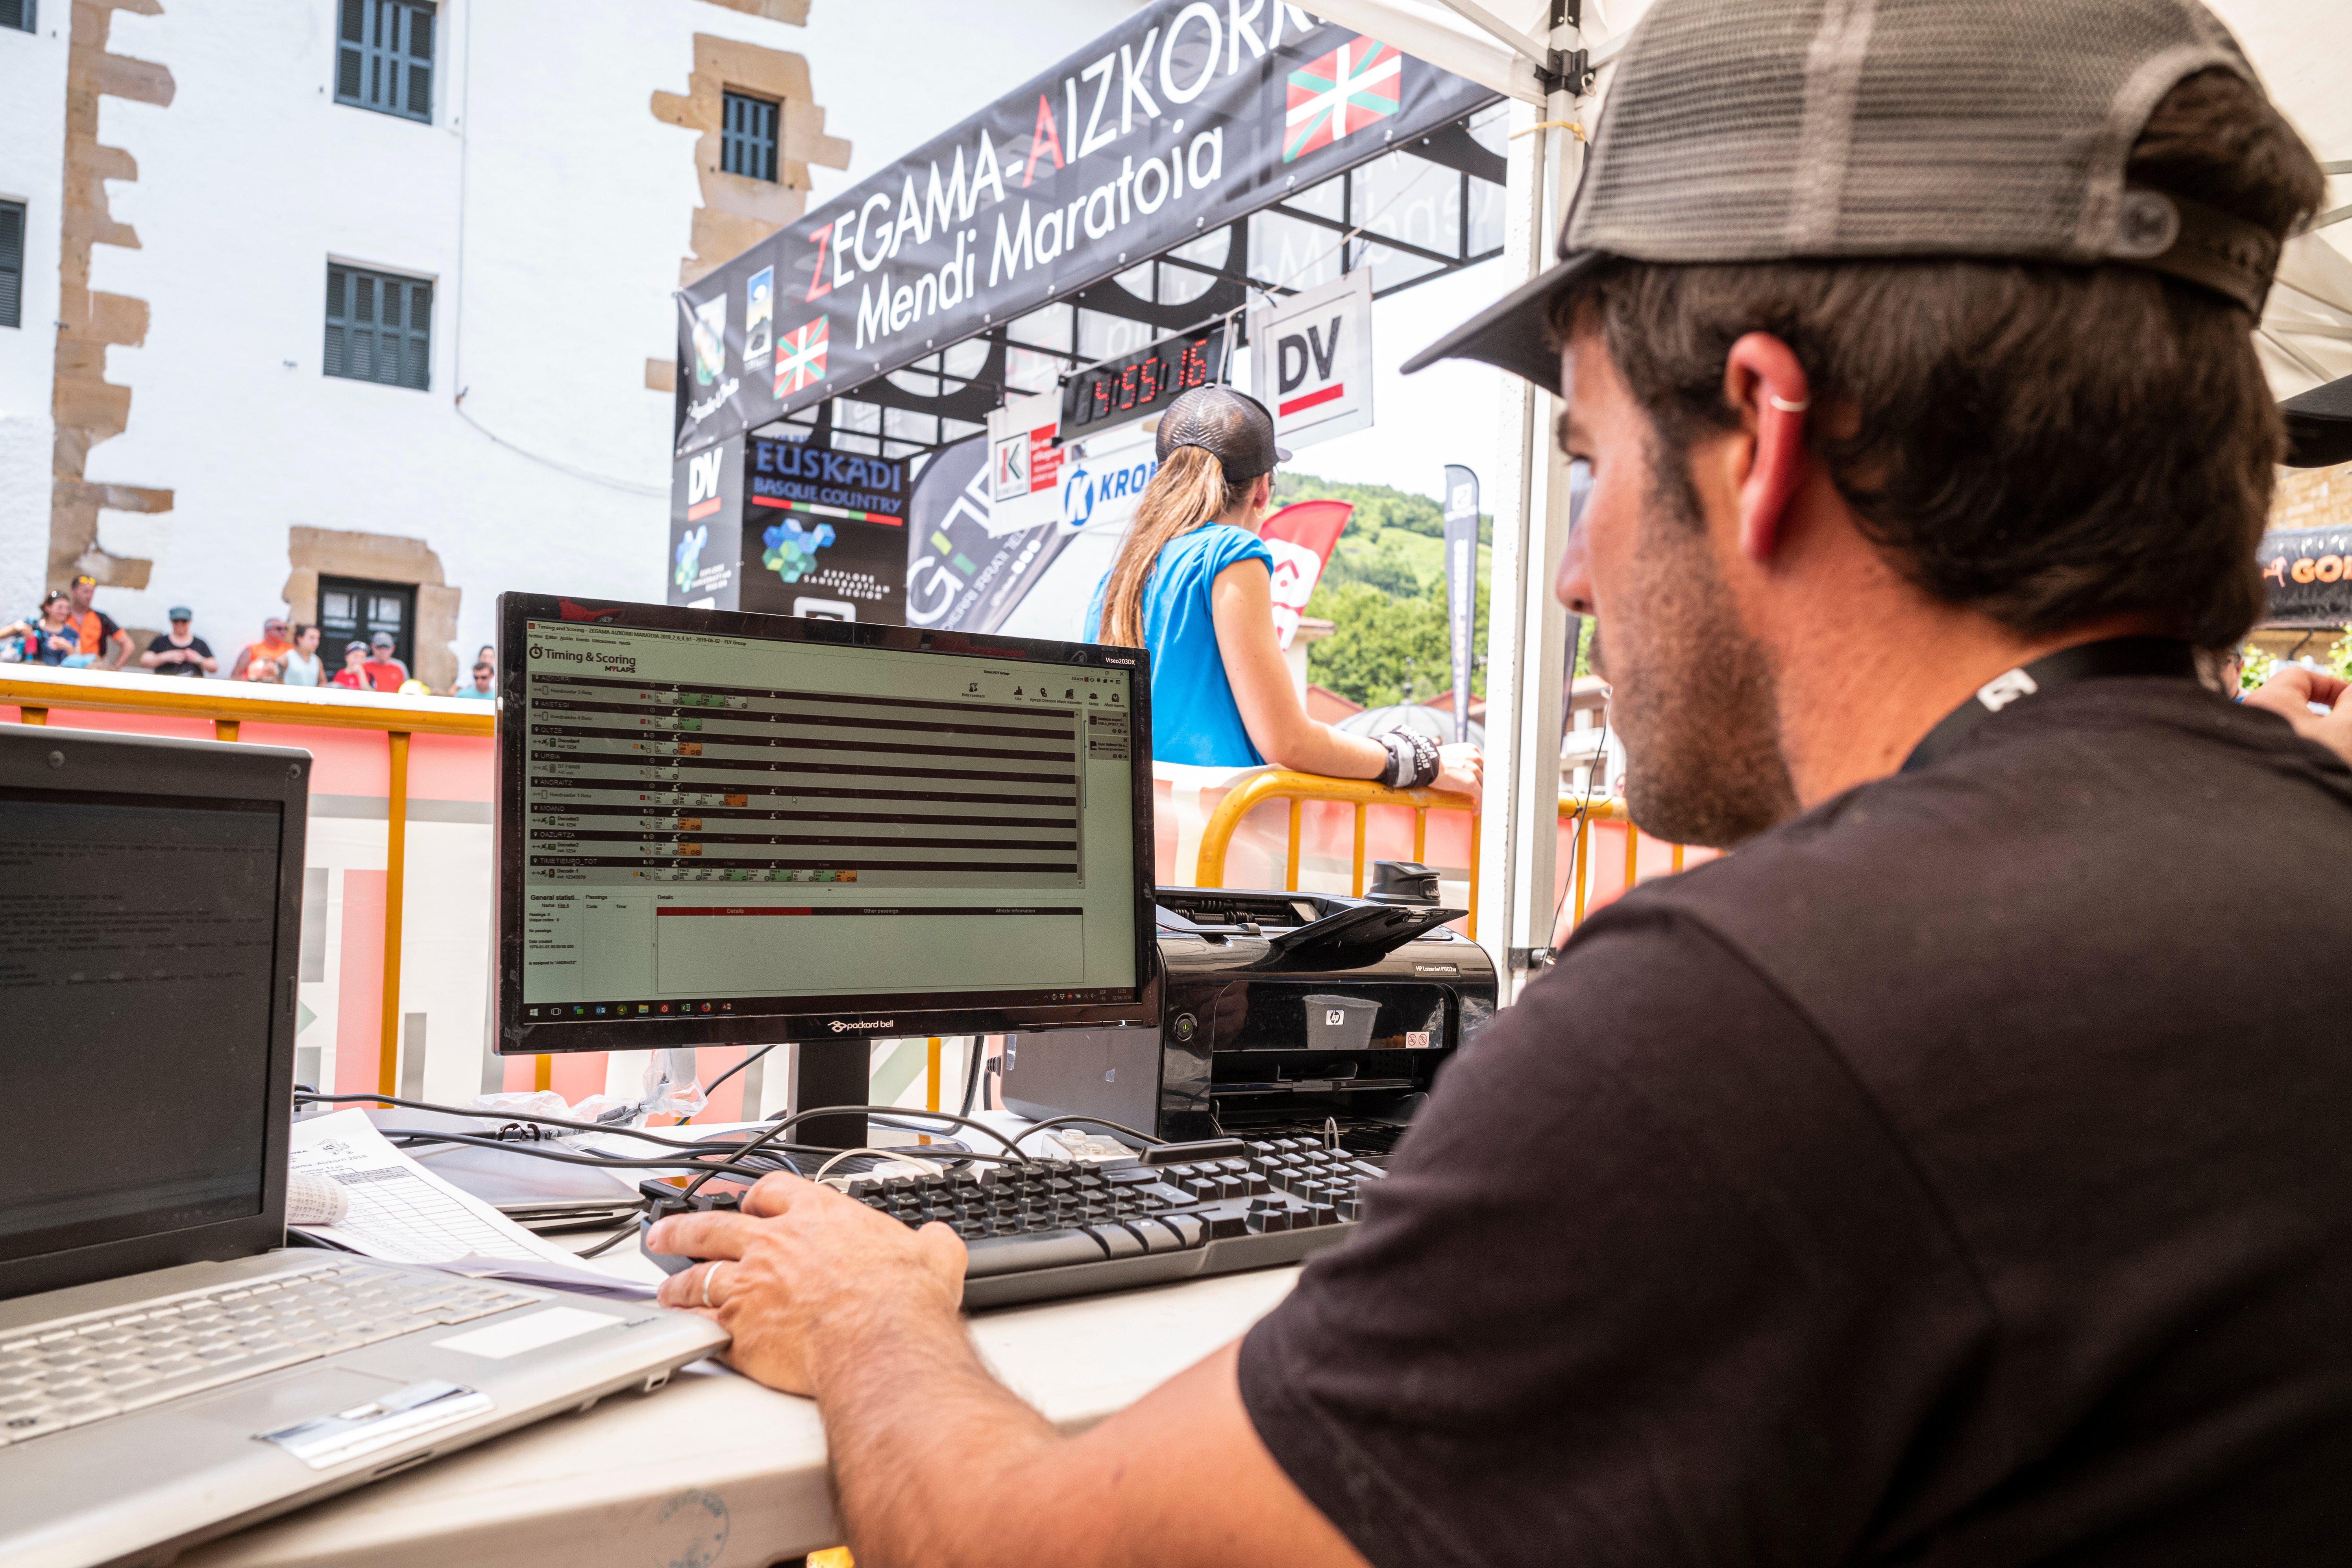
With the data being handled by the decoder, the data is now ready to be used by you, the timer. This is done by using software that is specially written for the decoder. The software is used to set-up, time, then create and publish reliable and accurate results.
Preparation for Trail Run timing
The preparation can really start now that we’ve discussed the basic setup. An event isn’t prepared in just one day. Certain topics need more room in your agenda. To not forget anything, it’s best to prepare a checklist for yourself and your co-organizers. In case you can’t continue preparation or co-organizing the event, someone else must be able to understand your checklist. Your checklist should consist of the most essential topics and duration of the task. The three main topics to consider are planning (for race day), equipment and administration. We give you an example of a preparation list.
Prepare for your Trail Run Checklist
1. Order tags via account manager. Order your tags via your account manager. When using BibTag, please note a 3-week delivery time on BibTag.
2. Create your script. We recommend creating a script for Raceday, with all details of your event described. For example, number of athletes, estimated duration of the race per category, contacts etc.
3. Create an equipment checklist. Create a checklist where you check-off all equipment that’s needed. Once completed, nothing will be missing on Raceday.
4. Update equipment. Update your equipment, like decoders and hand readers, before Race Day.
5. Athletes’ info. Make and overview of all athletes’ necessary info. This is needed to arrange a starting wave.
6. Create files in the timing software. Create files in the software for timing your Trail Run.
7. Event specific needs. Sometimes, extra preparation is needed to meet an events’ specific needs. This includes location-based needs such a road closure, special weather conditions that need to be respected, or capacity of fans. Make shure that before the event, everything is sorted out with the local authorities.
The day of your Trail Run Checklist
If your preparation list is fully done, it’s almost time to count down to Raceday. To make everything run even more smoothly on the day of your event, be shure to prepare a checklist for your big day. This list should consist of a step-by step plan from arriving to the location, the first gunshot and the last finisher. Your list should be understandable for the other organizers too, in case they must take over at some point.
1. Inspecting the timing location.Check your timing location. Is it safe, can the system be shielded from the public, is there any power available, check where to put mats etc.
2. Connect the mats. Connect the mats that you’ll be using. Use the manual that can be found here.
3. Create your main and backup start/finish setup.Create your main and backup start/finish setup.
4. Connect the decoder to the mats. Connect the decoder to the mats. Duration depends on the system of choice.
5. Check the decoder settings. Every decoder should be checked at the same time.
6. Test the mats. Test the mats using the Mat detection test. Instructions for this method can be found here.
7. Secure the timing location. Make shure no equipment is left on the road, and hazards like loose cables are gone. Check if decoders are on a safe spot away from water, sand and crowd. Be sure to check the system regularly (every 15-20 minutes) during the day.
8. Check internet connection. Check if the internet connection is stable.
9. Latest updates of the Athletes. Check for last-minute changes in number of athletes, withdrawals, etcetera.
10. Clear your decoder before the start. Your decoder should be cleared before the events starts.
11. Create new file before the start. After your decoder is cleared, a new file should be created in the software that you’re using.
12. Check if the correct group is at the starting line. Check for the first start if the starting group is correct, and no athletes are mixed up.
13. First Gunshot. When the first gunshot has been fired, your first race of the event has started!
14. Passing should be visible in your software. After the first passing of athletes over the mats, the timing of the passings should be visible in the software that you’re using.
15. When all athletes of the first group have started, create a new file on the decoder for the next group of the athletes. When the first group is well underway, create a new file on the decoder for the next group of athletes. (and so on)
16. Monitor your equipment during the event. Monitor the status of your batteries and internet connections, to avoid any inconveniences caused by non-powered equipment.
You’ve got it!
That’s the basic of timing your first trail run. In case you still feel overwhelmed, don’t worry. There’s no need to. Most issues have an easy fix. In case of any doubts during the setup, visit help.mylaps.com. Manuals, troubleshooting and other necessary info for your event can be found here. On weekdays, you can call the regular phone number for help. In case of an emergency, you can call our 24/7 support. Please note that this is only for emergencies on Raceday that require immediate attention and solutions.
Looking for a Timer?
Excited for timing a Trail Run, but rather focus on the event organizer duties? That’s completely fine. There are plenty of timers, and event-timing companies that will take care of the timing for you. An overview of available timers can be found on our Partner Map. In this blog post we explain when it's better to hire a timer instead of investing in your own timing equipment.
Contact & more info
Did you get excited for timing your Trail Run, are you hungry for more info? Don’t hesitate to contact us.
We are happy to help.

